プリンタードライバーのみインストールする

「プリンタードライバーのみインストールする・・・」という何とも理解しにくい状況ですがプリンタを多数バッチなどで登録する前準備としてドライバーのみインストールしたいということがあり、すぐに手順を忘れてしまうので備忘録として記載致します。
今回はローカルプリンターとしてインストールします。ドライバーをインストールしますが、実際にプリンターは存在していません。あくまでプリンタードライバーだけ先にインストールしておきたいという状況のための準備と考えてください。
環境
・パソコン(Windows8.1)
・プリンタードライバー(DocuPrint3050)
手順
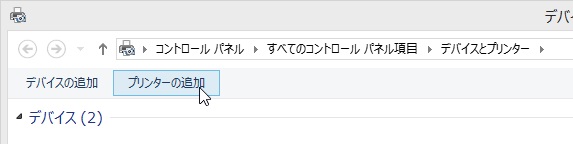
コントロールパネルから「プリンターの追加」をクリックします。
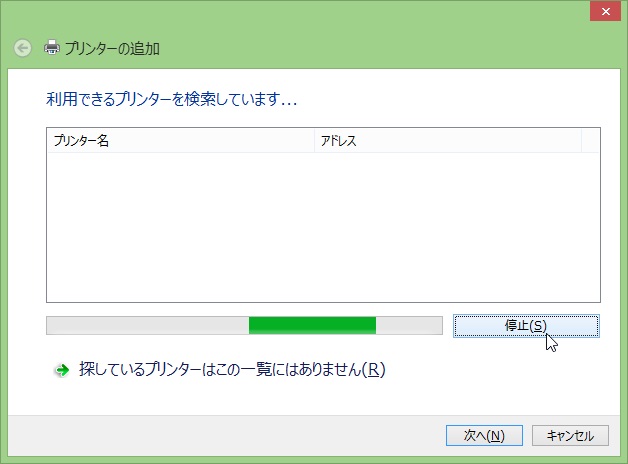
自動で利用できるプリンターが検索されますのでしばらく待ちます。
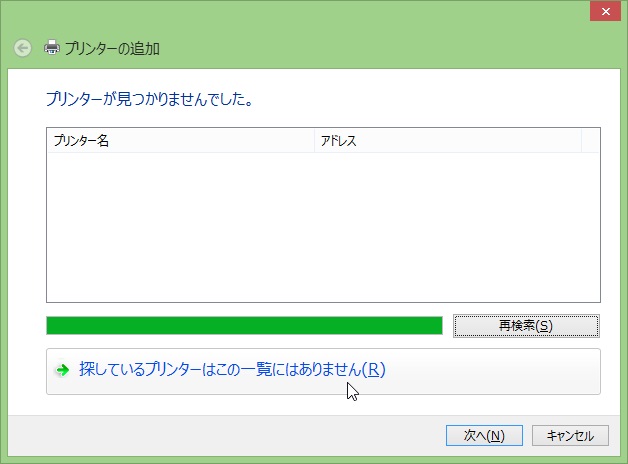
プリンターは存在していませんので「プリンターがみつかりませんでした。」となります。
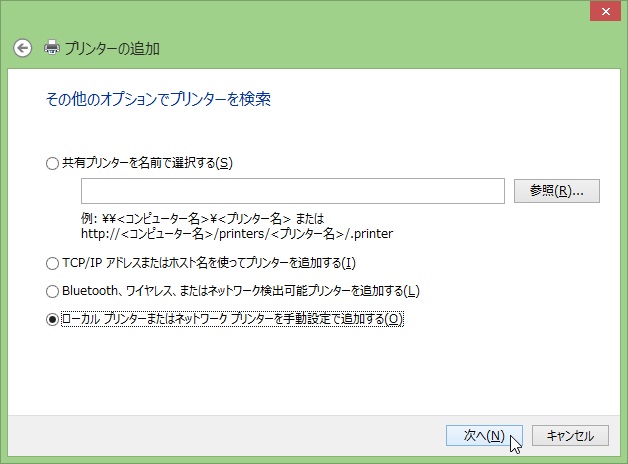
「ローカルプリンターまたはネットワークプリンターを手動設定で追加する」を選択し、次へをクリックします。
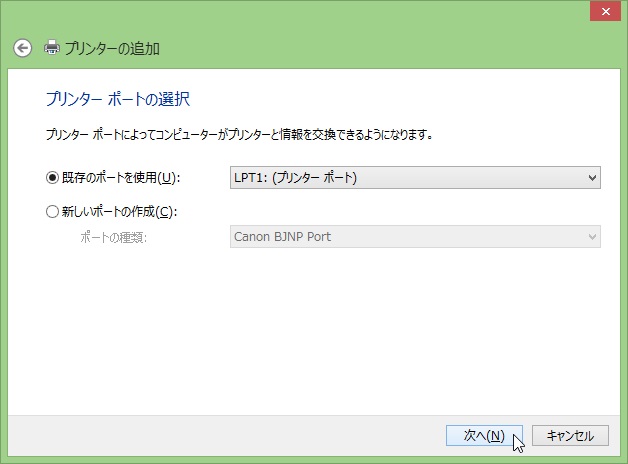
ここはデフォルト設定で次へをクリックします。
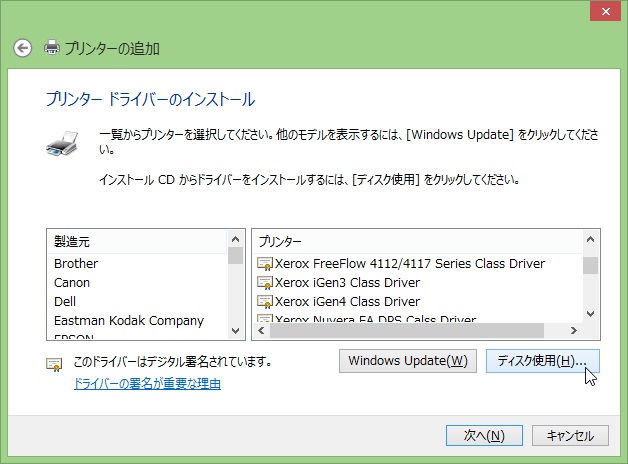
プリンター設定ファイル( ***.inf )を指定しますので「ディスク使用」を選択し、次へをクリックします。
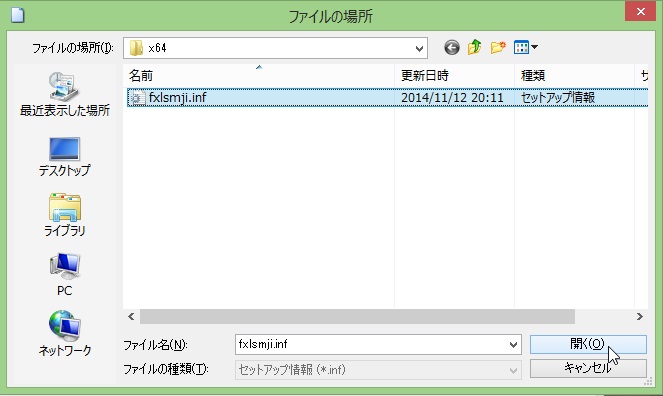
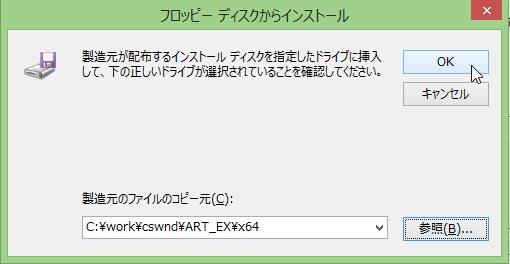
事前にダウンロードしておいたドライバーが格納されたフォルダ内からプリンター設定ファイル( ***.inf )を参照し、開くをクリックします。参照後、OKをクリックします。
今回インストールする「FX DocuPrint 3050」を選択し、次へをクリックします。

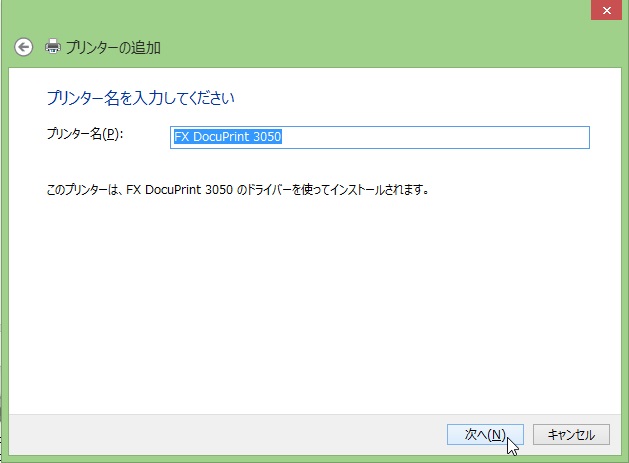
任意のプリンター名を入力し、次へをクリックします。
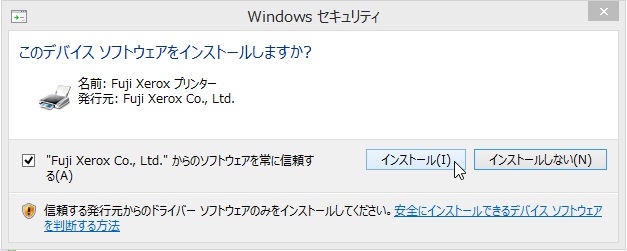
インストールをクリックします。
「このプリンターを共有しない」、「このプリンターを共有して・・・」のどちらが選択されていてもよいのでそのまま次へをクリックします。

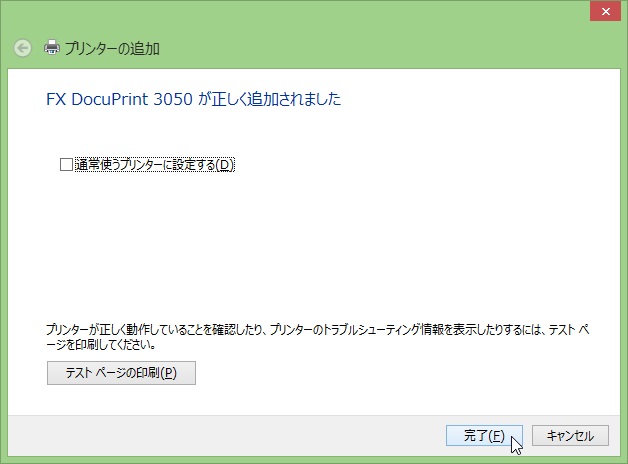
インストールが成功すると正しく追加されます。完了をクリックし、作業は終了です。
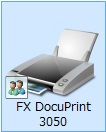
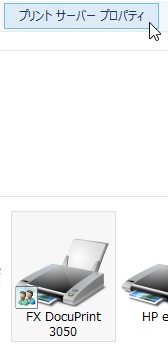
コントロールパネルのデバイスとプリンターにプリンタが追加されます。
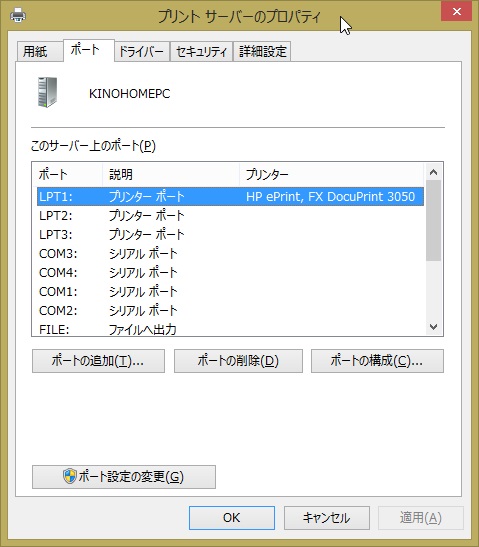
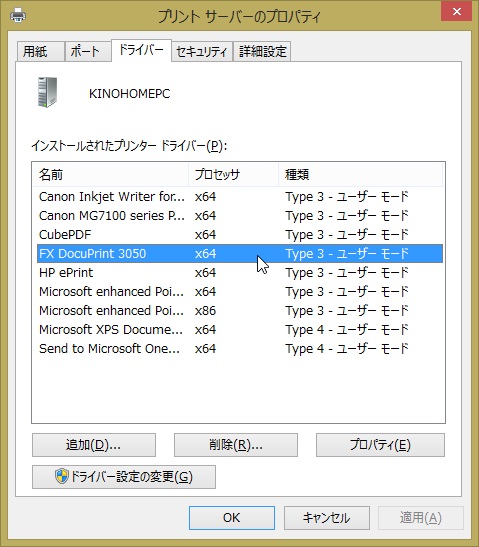
登録したプリンタを選択し、画面上部の「プリントサーバープロパティ」をクリックします。
「ポート」タブに「プリンタポート」、「ドライバー」タブに「プリンタードライバー」が登録されたことを確認します。
まとめ
忘れたころに作業を任されることがあるので忘れないように記録として残しておきます。次回は、プリンタードライバーの削除(デバイスの削除、プリンタポートの削除、ドライバの削除)も記録として残しておこうと思います。